Plickers
1. What is Plickers?
Plickers is both an app for the smartphone and tablet, as well as a website. Plickers offers the possibility to quickly collect the answers of all students, with the unique advantage that students do not need a device such as a tablet or laptop. As a teacher, you can present a question to students in the form of:
- a true/false question (A or B)
- a yes/no question (A or B)
- a multiple choice question with up to 4 choices (A, B, C or D)
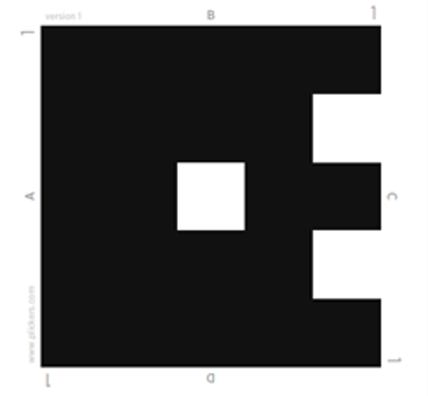
The students then each have their own personal Plickers card, which has an image on it that looks like a QR code. This image also contains a letter on each side: A, B, C or D. When answering a question posed by the teacher, they should raise their Plickers card so that the letter of their answer is at the top. This will place the image in a certain direction and you, as a teacher, can scan it to get an instant overview of students’ answers.

2. How can Plickers make learning more personalized?
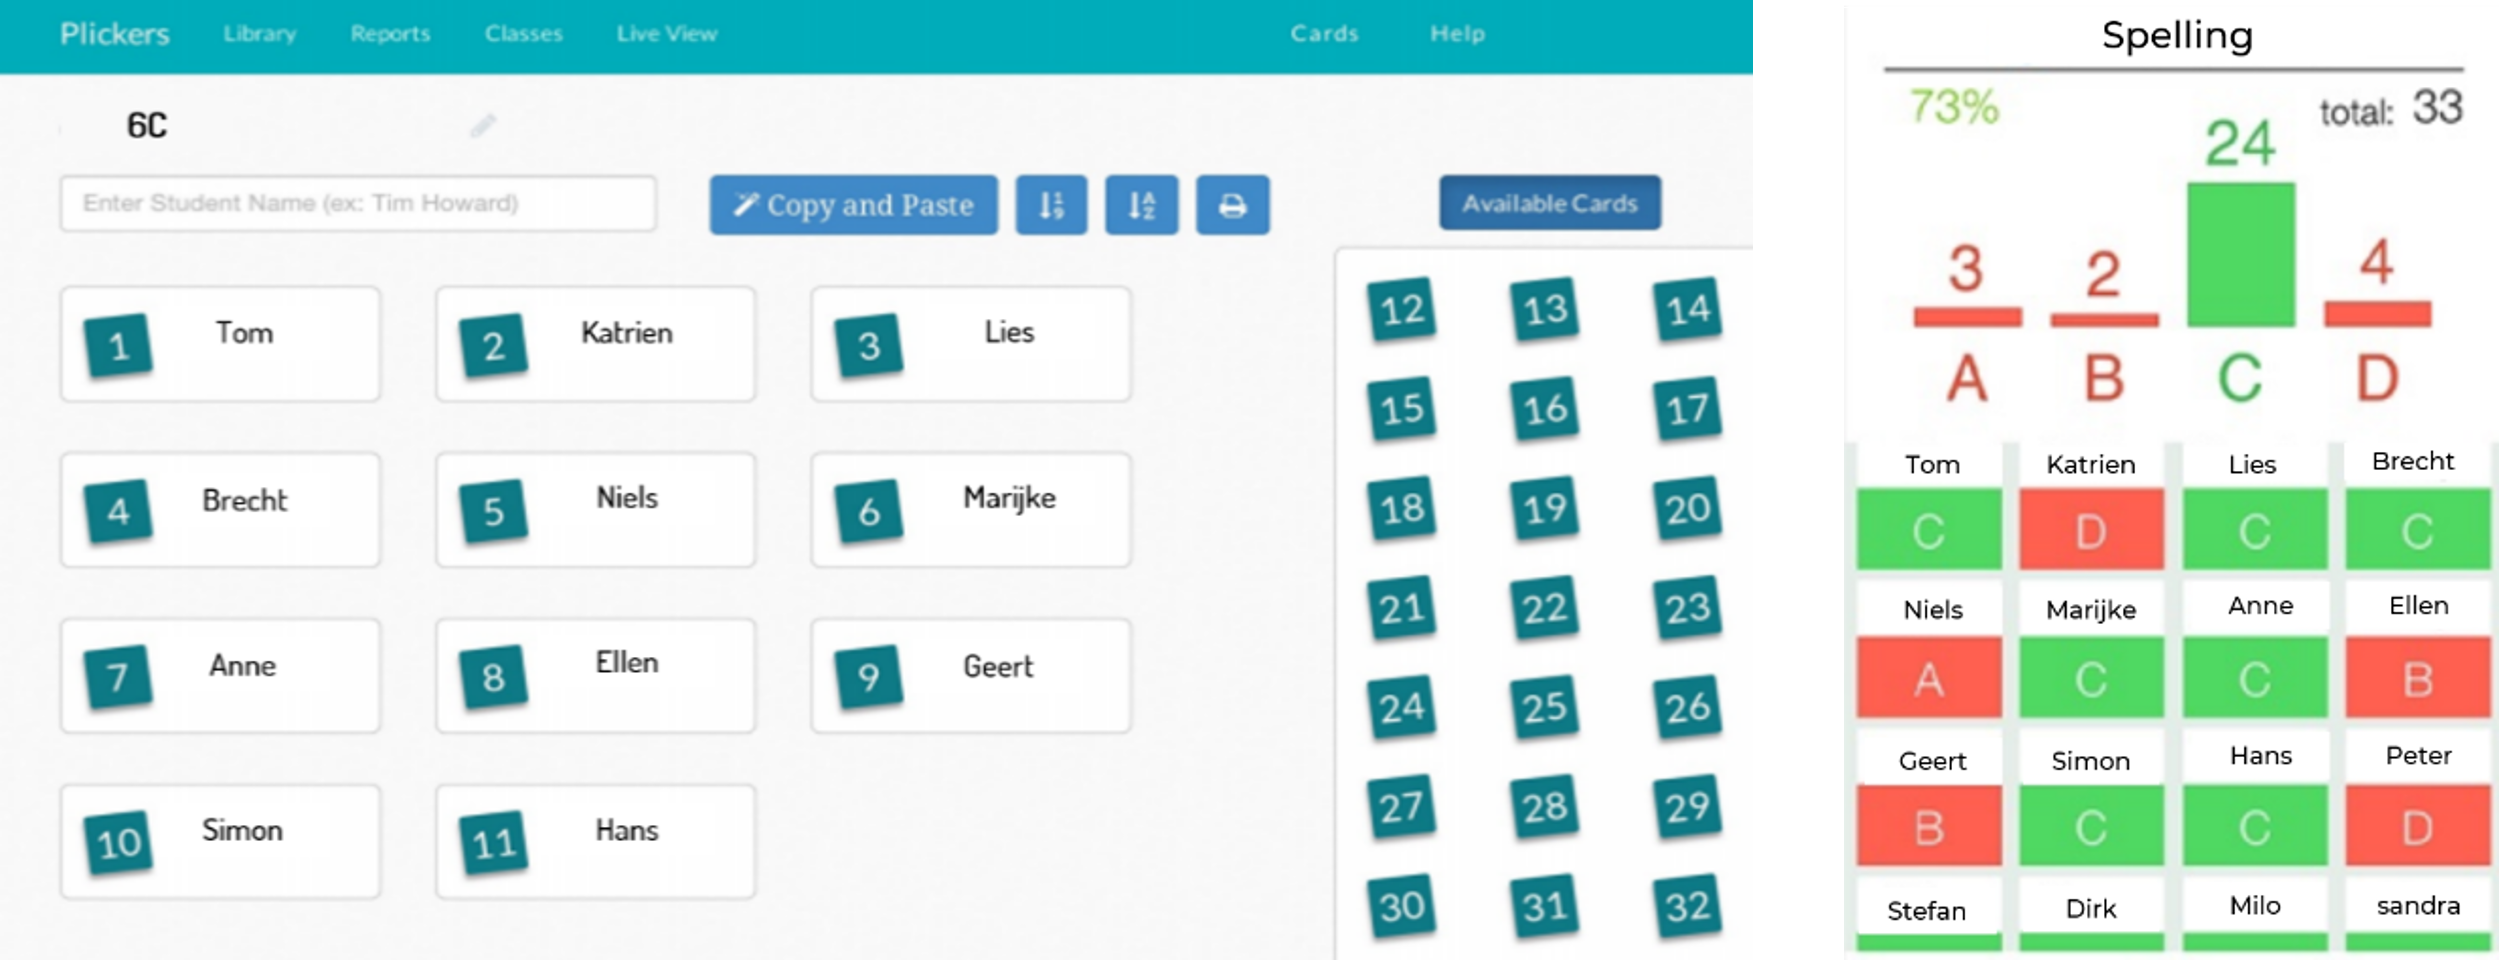
With Plickers you can create different classes, within which you can add the students of the respective classes. The unique aspect here is that students are automatically assigned to a certain number, which corresponds to a number on a Plickers card. Thus, all Plickers cards are numbered and you can give students the Plickers card that corresponds to the number that was automatically generated (but you can change this number on the website or in the app if you wish). This way every pupil has his own Plickers card, which is linked to his name in the app/website through the number. When you ask a question to a student and they put their plickers card in the air to answer it, this immediately offers a number of advantages in the context of personalised learning:
- Instead of pointing out a single pupil, you can point out all the pupils and involve each individual pupil.
- You offer students who normally would not dare to respond a safe way to do so. They do not have to articulate their answer, but can show it with the card. The only exception is when pupils look at each other’s plickers card, but this is not easy because the letters are relatively small and as a teacher you can monitor this at the front of the class.
- You get an overview of all the answers, which immediately gives you insight into whether there are individual pupils who have not yet mastered certain knowledge. This can therefore be the starting point for offering them extra support. On the other hand, there might be students who always get all the answers right, so you can think about offering them extra challenges. So it is really a starting point to personalise the approach.

3. What to consider when implementing Plickers?
To get started with Plickers, you need a device to show students the questions they have to answer. In a classroom context, this could be a laptop/desktop and a beamer. In addition, you need a smartphone or tablet so that you can scan the images of the students via the Plickers app. Finally, you also need a plickers card for each pupil. You can download and print these cards for free from the Plickers website. A point of attention is that you do not laminate these Plicker cards with reflective lamination, because this can create a shiny effect which can make it difficult for your camera to scan them. If you use matt lamination, this is normally not a problem.
4. Where can I get started with Plickers?
If you want to start using Plickers yourself, you can create a free account on this website: https://www.plickers.com/signup
There is also a paid version for $8.99 a month, but we recommend experimenting with the free version first. This will give you a first experience and you can still opt for the paid version afterwards.